How to Install Free Standing Curtains on the Ceiling
If you're working with free standing curtains and there's a ceiling panel involved, don't worry, installing it is a pretty simple job. This guide will walk you through the basic steps using tools and materials you can get just about anywhere. Whether your curtain is fixed in place or it rolls open, these steps will help you get everything up and working the way it should.
Step 1: Find out what kind of enclosure you have.
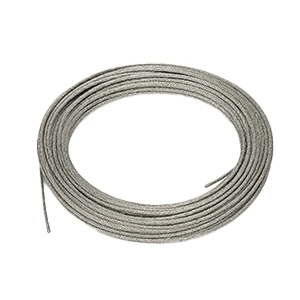
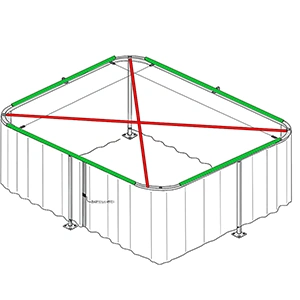
To get started, you’ll need to set up cables to hang your ceiling. These aren’t included in the kit, so you’ll have to grab some lightweight cabling yourself. Since the ceiling isn’t very heavy, there’s no need for thick, industrial cables. The most common way to hang it is in an “X” shape across the top, but depending on how your space is set up and where the weight falls, you can also run extra cables along the length or width of the ceiling.


2. Optional Sealing with Velcro
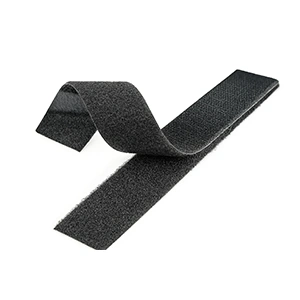
If you’re concerned about keeping out dust or fumes, like in a more controlled environment, you can request seal Velcro to help close gaps. This Velcro runs around the full edge where the ceiling meets the enclosure’s track. Just keep in mind, this is purely for sealing purposes and doesn’t support any weight.

Step 4: Draping the Curtain Ceiling
Now it’s time to drape the ceiling itself. Lay the curtain evenly over your cable setup, making sure it hangs equally on all sides. Take your time adjusting it before cutting or fastening anything, this ensures everything lines up right and gives you the best fit.
Step 5: Making Openings for Suspended Equipment
If your setup uses freestanding hardware, you’re good to go, no cuts are needed. But if you have something hanging from above, like rods or chains, you’ll need to cut small holes where those items pass through the curtain. Lay out the whole ceiling first so you know exactly where to cut. A small 2-inch slit with a utility knife is usually all you need. Most of the time, these openings don’t need to be sealed back up, but if you want a tighter seal, patch tape is available.
Step 6: 6. Trimming Extra Material
Once everything’s installed, you might notice extra curtain material hanging off the sides. It’s totally fine to leave it, but if it looks messy or gets in the way, feel free to trim it down. A utility knife or sharp scissors will do the trick. Leaving at least 4 inches of overhang is recommended, but we usually include extra, 12 to 24 inches, so you have room to adjust things on-site.
Additional Information
Here are additional video guides for your reference:
- See this instruction video (FLAT Versions): http://screencast-o-matic.com/watch/cbnZoh6qGy
- See this instruction video (CONE Versions): youtube.com/watch?v=WI2I-fxIEYs&feature=youtu.be
- How to Install the Center Support: https://www.youtube.com/watch?v=YULuH_AgXnU
- Ceilings when only (2) sides are needed: https://screencast-o-matic.com/watch/cbXUbd2yA6
