Overview
A porch is one of the best parts of any home. It's perfect for morning coffee, weekend reading, or just relaxing after work. But when winter comes? Most people just cover everything up and don't use it for months. That's a lot of wasted space. And honestly, it doesn't have to be that way.
Winterizing a porch means making it usable even when it's cold outside. It protects furniture from damage, can lower heating bills, and gives back that valuable square footage for the whole year instead of just summer.
This guide will walk through everything needed to winterize a porch, from simple fixes to the best long-term solutions.
Why Winterize a Porch?
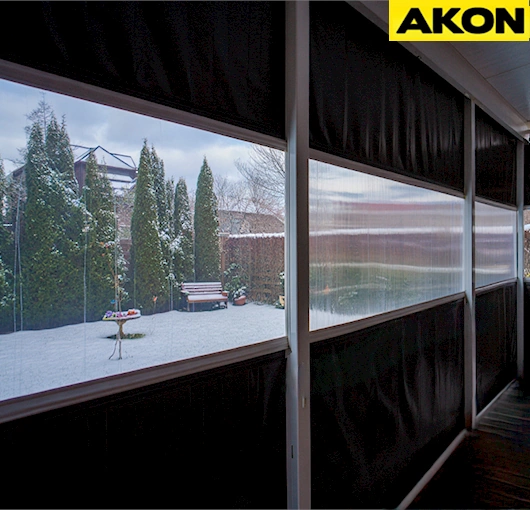
Before getting into the how, it helps to understand why this matters.
- The space stays usable. Instead of losing a whole room for six months, the porch can still serve as a reading spot, play area, or quiet workspace all winter long.
- Everything stays protected. Winter weather is rough. Snow and ice can crack wood, rust metal, and destroy outdoor furniture. Proper winterization prevents this damage.
- It saves money on heating. An unprotected porch makes the rooms next to it colder.
- The furnace has to work harder. A winterized porch creates a buffer that actually keeps the whole house warmer.
- Home value goes up. A usable three-season or four-season porch adds real square footage to a home. That's something buyers pay attention to.
Solutions For Winterizing Your Porch
Step 1: Look at What's Already There
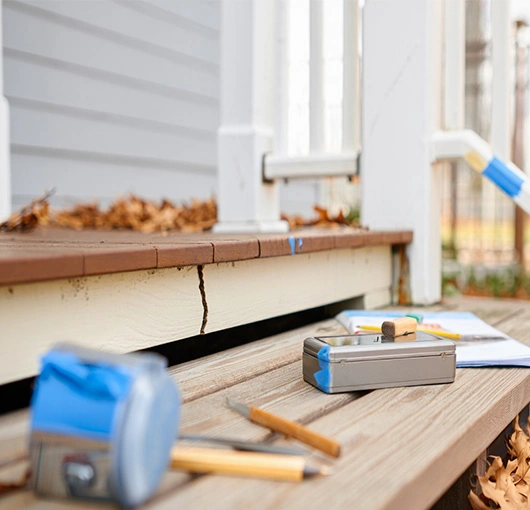
Every porch is different. Before buying anything or starting work, take a good look at the space. Is it a screened porch? An open porch? Is it a covered or uncovered porch? The type of porch that you have determines what options will work. Walk around and check the condition.
Look for loose boards, cracks in the wood, peeling paint, or gaps where things connect. These problems get worse in winter if not fixed first. Think about how the porch will be used during cold months. Just storing furniture? Or actually sitting out there? The answer changes what's needed. Be honest about budget. Solutions exist at every price level.
Step 2: Clean and Fix Everything First
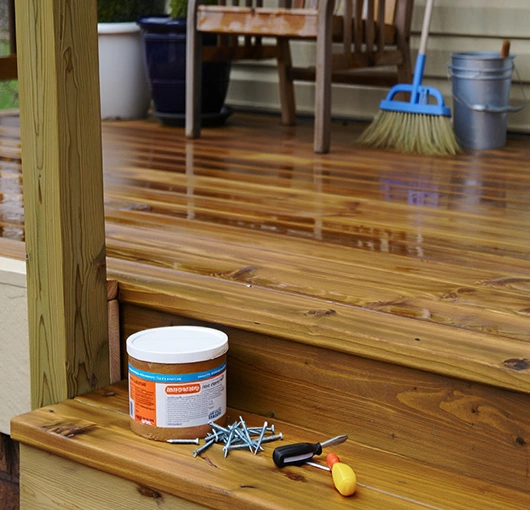
This part isn't exciting, but it matters. Take everything off the porch. All the furniture, plants, and decorations. This makes it possible to see the actual condition of the porch itself.
Give it a thorough cleaning. Sweep up dirt and leaves. Then clean the walls and floor with a hose or power washer. This gets rid of dirt that could hurt your porch during the winter.
Use this time as well to repair any broken parts that you notice while inspecting. Replace rotting wood. Tighten loose screws. Fill in cracks. These small repairs now prevent bigger, more expensive problems come spring.
Step 3: Seal Up the Gaps
Step 4: Add Some Insulation
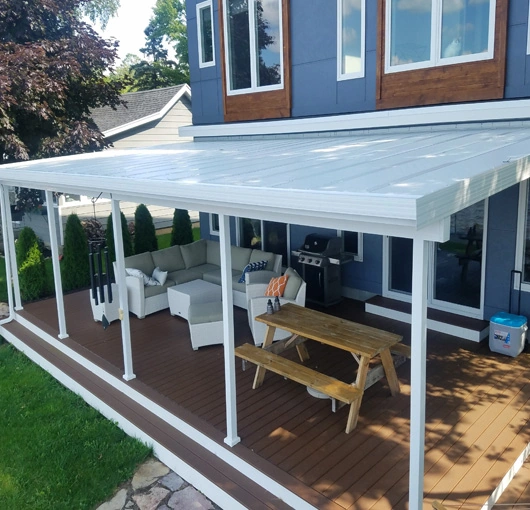
If the porch has a ceiling, putting insulation above it helps a lot. This is especially worth doing if there's a room above the porch. Foam insulation panels work well and are not too difficult to install. They can be covered with beadboard or another material to look finished.
For the floor, thick outdoor rugs or foam tiles make things warmer underfoot. They will not insulate like proper wall insulation does, but they definitely make the space feel much cozier. These floor options also add comfort and style to the porch during winter months when the space gets regular use.
Step 5: Install Vinyl Enclosures
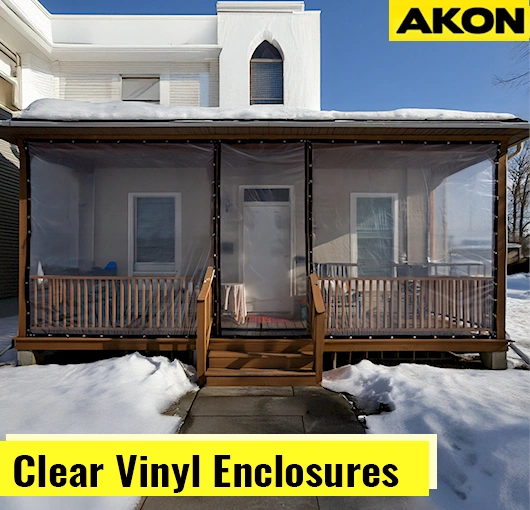
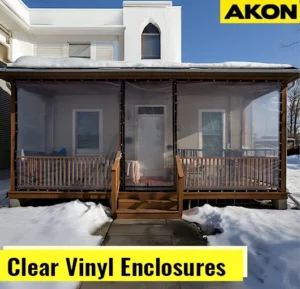
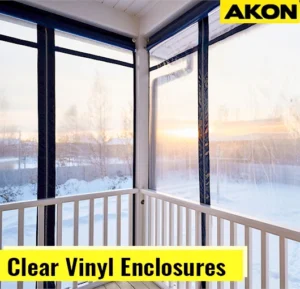
Vinyl enclosures are the best way to keep wind and snow out of porches that are open or only have screens. With these custom-made walls, the porch is now safe and protected while still being bright and airy.
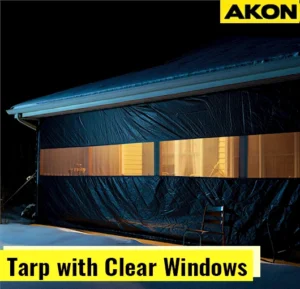
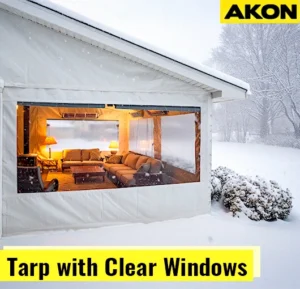
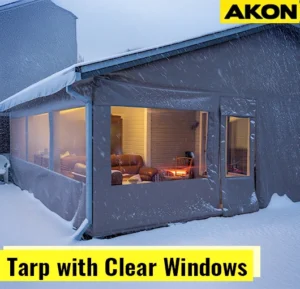
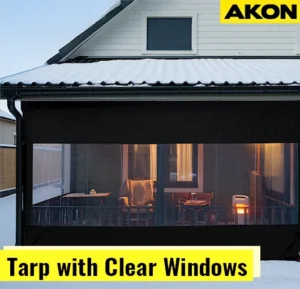
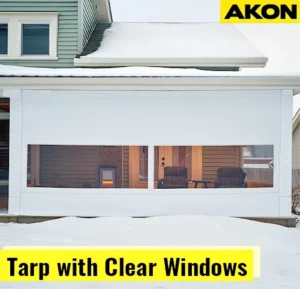
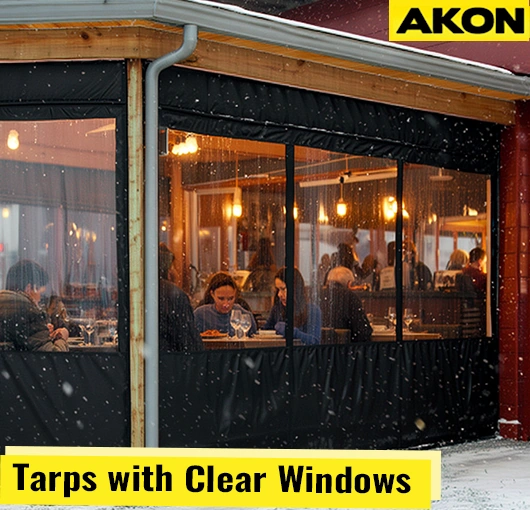
AKON gives you three great choices to meet your wants. Clear vinyl enclosures let in natural light but keep out winds and snow. Foam backing is added to insulated vinyl enclosures to keep you warmer and save energy, making them great for heated porches. A tarp with clear window pieces is an affordable way to protect your space while still letting the light in.
All three fit tightly around the frame of the porch to keep snow, rain, and cold winds out so you can use your porch all year round.
Step 6 : Protect the Furniture
Even with the porch winterized, furniture needs protection. Good quality outdoor furniture covers keep moisture and dirt off the pieces. Make sure everything is clean and completely dry before covering it up. Any dampness trapped under covers can cause damage over time.
Cushions and pillows should come inside for winter. Store them somewhere dry and temperature controlled. Make absolutely sure they are dry before putting them in storage containers or sealed bags. Trapped moisture creates mold and mildew problems. For valuable or delicate furniture pieces, bringing them completely indoors for the season provides the best protection and peace of mind.
Winterization Steps Comparison
Not every porch needs every solution. Some homeowners just want basic protection while others are ready to transform their porch into a true four-season room. Budget matters too. So does the time available for the project. The table below breaks down all six winterization steps so it's easier to see what makes sense for each situation.
| Step | Cost | Difficulty | Time Required | Effectiveness | DIY Friendly | Longevity |
|---|---|---|---|---|---|---|
| 1. Assess Your Porch 🔎 | Free | Easy | 30–60 minutes | Essential foundation | Yes | One-time task |
| 2. Clean and Repair 🧽 | $50–$300 | Easy to Moderate | 2–4 hours | High — prevents damage | Yes | Seasonal maintenance |
| 3. Seal the Gaps 🧵 | $30–$100 | Easy | 1–3 hours | High — blocks drafts | Yes | 1–3 years |
| 4. Add Insulation 🧱 | $100–$500 | Moderate | 4–8 hours | Medium to High | Yes with help | 10+ years |
| 5. Vinyl Enclosures 🛡️ ⭐ Recommended | $300–$3,000+ | Easy to Professional | 2 hours to 1 day | Very High — complete protection ❄️💨 | Depends on system | 5–15+ years |
| 6. Protect Furniture 🪑 | $50–$200 | Easy | 1–2 hours | Medium — preserves items | Yes | 5-15+ years |
Key Takeaways
- The first three steps are the foundation. They're affordable, straightforward, and deliver results right away. Every porch benefits from assessment, cleaning, and sealing gaps, no matter what else gets done.
- Insulation makes sense if the porch has a ceiling and will get regular use during winter. It adds comfort without breaking the budget.
- Vinyl enclosures are the game changer. The cost varies quite a bit depending on which system gets chosen, but this step delivers the most complete protection. For anyone who wants to actually use their porch throughout winter, this is where the investment pays off.
- Furniture protection is simple maintenance that takes minimal time and money while preventing costly replacements down the road.
Which Winterization Solution Is Right for You?
The Best Solution: Vinyl Porch Enclosures
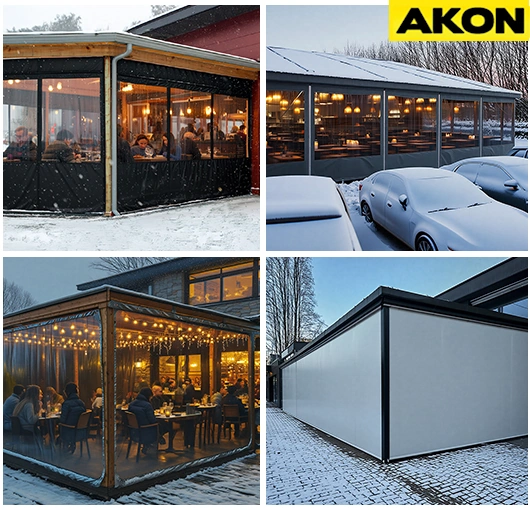
Why Vinyl Enclosures Are Worth It
- Complete weather protection. Wind, rain, snow all stay outside. The porch stays completely dry and protected.
- The view stays clear. Unlike solid walls or heavy curtains, vinyl panels are transparent. All the things that make a porch special, seeing outside, natural light, watching the seasons change, stay intact.
- Flexibility for different weather. On a nice winter day, panels can open to let in fresh air. When a storm hits, everything seals up tight. The porch adapts to whatever's happening outside.
- Real comfort in all seasons. An enclosed porch can be heated efficiently. The warmth stays in instead of escaping. Some porches even stay warm from sunshine alone without needing much extra heat.
- Adds value to the home. Real estate agents consistently say enclosed porches increase property value. They add finished square footage that buyers are willing to pay for.
- Low maintenance. Clean them occasionally with soap and water. That's about it. No complicated mechanisms to break. No screens to replace. No painting needed.
- Costs less than building an addition. A room addition can cost $30,000 to $60,000 or more. Vinyl enclosures give similar benefits for a fraction of that price.
Clear Vinyl Enclosures
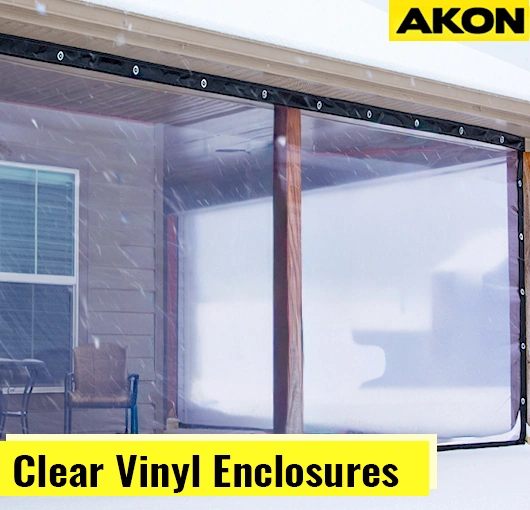
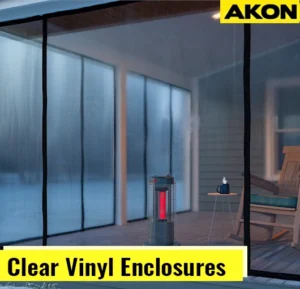
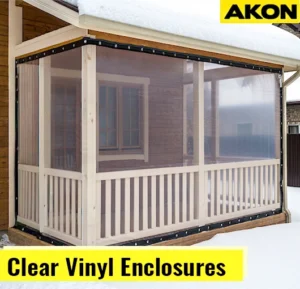
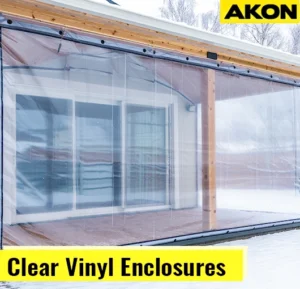
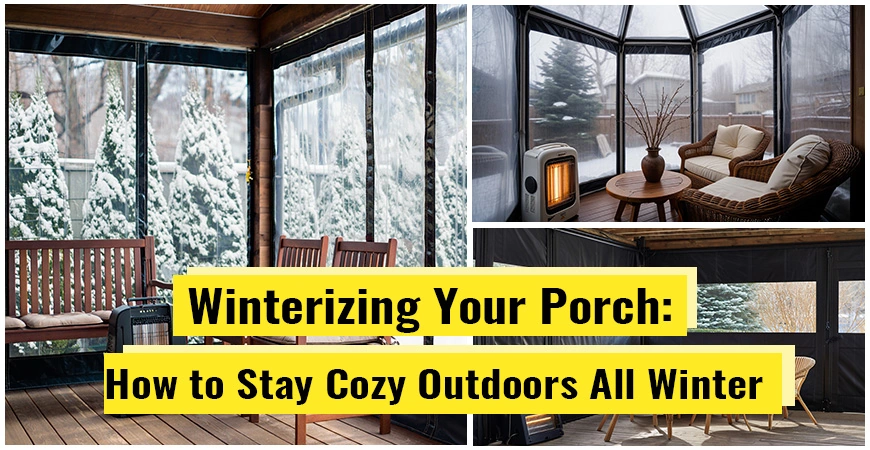
Clear vinyl enclosures use transparent panels that allows sunlight while blocking wind, rain, and snow. You keep the open-air vibe and wide views, yet the space stays dry and draft free. Each panels are custom-made and can mount with grommets, zippers, or a simple track system for quick roll up when the weather improves. The material wipes clean and resists clouding with proper car , so the porch remains bright all season. If you want protection without feeling boxed in, this option fits. It turns the porch into a cozy room for coffee, reading, or family time while preserving the outdoors.
Insulated Vinyl Enclosures
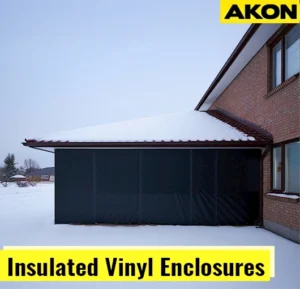
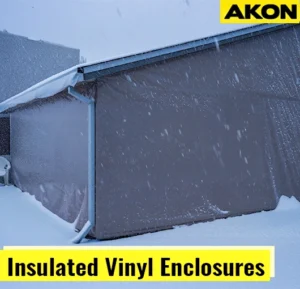
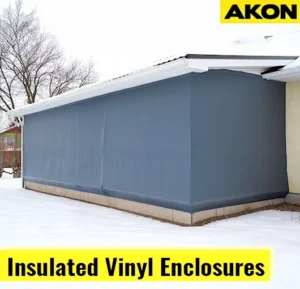
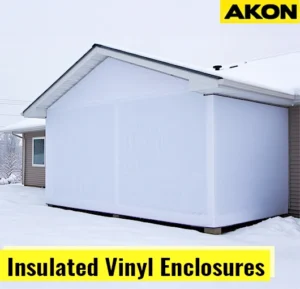
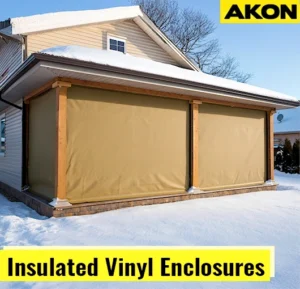
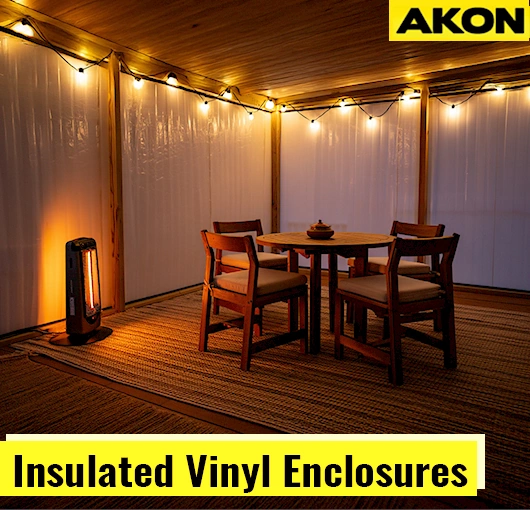
Insulated vinyl enclosures use a thin foam backing that traps warmth inside, making them ideal for porches you plan to heat and use throughout winter. By reducing heat loss, the added insulation helps lower energy costs and keeps the temperature comfortable all winter.
The space feels inviting on the coldest days and functions like a true extension of your home, suitable for lounging, work, or small gatherings. Clear window options preserve daylight and views while sealing out wind and drafts. In places where winters are harsh, this setup provides reliable protection, reduces noise, and makes maintenance easier than temporary plastic sheets.
Insulated Vinyl Enclosures
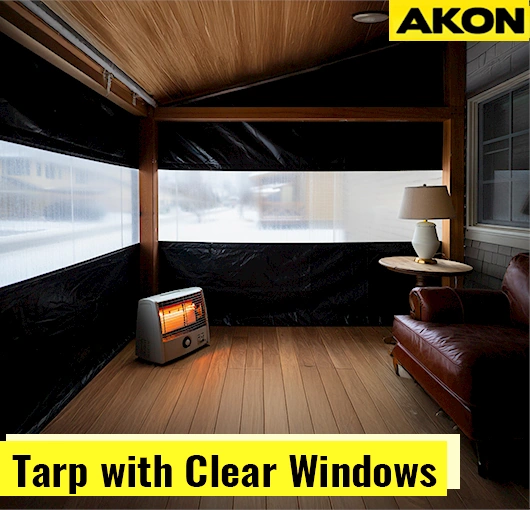
Tarp enclosures with clear windows are an easy, low-cost way to winterize a porch without losing light or views. The tarp blocks wind, snow, and rain. The see-through sections keep the space bright and connected to nature.
You can hang the panels with grommets, hooks, or a simple track, and maintenance is just a quick wipe now and then. Many people start with this setup and end up keeping it because it works and stays within budget. It shields furniture, cuts drafts, and makes the porch usable in cold months while leaving room to upgrade later if needed.
Easy Install
Outdoor curtains come with grommets at the top making hanging the curtains quick and easy with or without the curtain track.
Inexpensive
Outdoor curtains are about 1/3rd of the cost of other separation methods such as rigid walls or panel systems and are easy to store.
Temperature Control
Keep consistent temperatures inside more consistent for a more comfortable work environment and pull open when not needed.
Wind Blocking
Keep the wind and rain out when the weather turns nasty but still have the ability to pull open the curtain when its nice or you need access.
Material Options
Opaque Vinyl
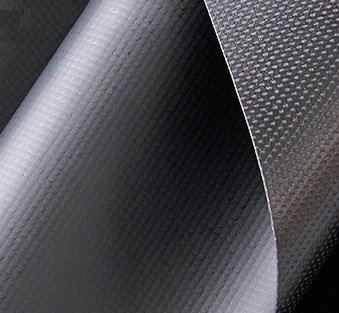
Industrial grade 18oz opaque vinyl ideal for moderate temperature control and blocking line of sight. $$
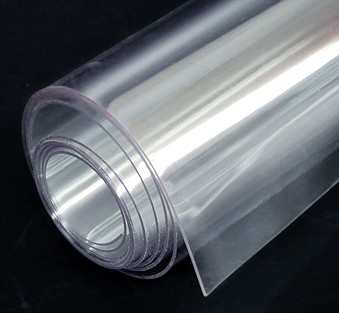
Clear Vinyl
Industrial grade 30mil clear vinyl ideal for moderate temperature control and allowing a line of sight. $$

Insulated Vinyl
Industrial R3 1/2" thick material with 18oz vinyl skins ideal for heavy temperature control and blocking the line of sight. $$
Frequently Asked Questions
Are you thinking about winterizing your porch for the winter? In this frequently asked questions (FAQ) table, we talk about what vinyl enclosures are, how to put them up, and how to pick between clear, insulated, and tarp with clear windows. To help you with things like licenses, heaters, condensation, and upkeep, there are also tips. Use the questions below to help you plan a warm, weather-proof place that keeps light and views but keeps wind, rain, and snow out.
What is a vinyl porch enclosure?
A vinyl porch enclosure uses clear or insulated PVC panels attached to your porch openings with tracks, zippers, or grommets. It blocks wind, rain, and snow while keeping sightlines and natural light. Panels can roll up or be removed when the weather improves.
What is the difference between clear vinyl, insulated vinyl, and tarp with clear windows?
Clear vinyl preserves views and daylight while stopping drafts. Insulated vinyl adds foam backing to hold heat and improve comfort in cold climates. Tarp with clear windows is the budget option that combines durable tarp material with see-through panels for light and visibility.
How thick should clear vinyl be for winter use?
For cold weather, 30 to 40 mil clear vinyl offers better stiffness and clarity than lighter gauges. Thicker panels flap less in wind and stay flatter in low temperatures. Confirm your hardware supports the selected gauge for smooth operation.
Will a vinyl enclosure keep my porch warm?
Yes. Stopping wind and drafts improves perceived temperature right away. Pairing the enclosure with safe, outdoor-rated heaters helps maintain steady warmth, and insulated vinyl reduces heat loss further for regular winter use.
Is it safe to use heaters with vinyl porch enclosures?
Yes if you follow clearances and manufacturer guidance. Use outdoor-rated electric or infrared heaters, keep proper distance from vinyl and wood, plug into GFCI-protected circuits, and allow ventilation to manage moisture and air quality.
How are vinyl panels installed on a porch?
Most systems mount to ceiling beams or posts using aluminum tracks, snap clips, or grommets with fasteners. Plan access points, bottom hold-downs, and any step-up thresholds. Complex layouts benefit from professional measuring and installation.
Do I need a permit or HOA approval to enclose a porch for winter?
Rules vary. Many fabric curtains are considered temporary, but you should check local codes, fire rules, and HOA or landlord requirements. Getting approval first prevents delays and rework.
Can vinyl enclosures handle strong winds and snow on a porch?
Quality hardware and correct anchoring perform well in typical winter weather. Choose reinforced hems, continuous tracks, frequent fasteners, and bottom ties or keder edges. In severe storms, securing or rolling up windward panels can reduce stress.
How do I reduce condensation and keep panels clear?
Vent the space and dry surfaces. Crack a panel when possible, add discreet vents, or use a small dehumidifier in damp conditions. Clean with mild soap and water, rinse, and dry. Avoid ammonia or abrasive cleaners to protect clarity.
What does a vinyl porch enclosure cost and how long does it take?
Lead times are commonly 2 to 5 weeks for custom panels and hardware, longer in peak season. Costs range from economical tarp with clear windows to higher for insulated systems with doors. Size, panel count, and hardware drive the final price.
Can I install a vinyl enclosure myself?
Many homeowners can install simple, square openings with grommets or basic tracks. For angled spans, multiple doorways, or tight weather seals, professional installation saves time and reduces fit issues.
How do I measure my porch openings for custom panels?
Measure width and height for each opening to the nearest 1/8 inch. Note posts, railings, and obstructions, and record mounting surfaces. Mark door locations and bottom hold-downs on a sketch and include labeled photos for accuracy.
How do people enter and exit once the porch is enclosed?
Use zippered door panels, magnetic closures, or framed roll-ups at common paths. Keep thresholds smooth and clearly mark exits. Maintain clear walkways free of cords, heaters, and straps.
What maintenance do vinyl porch enclosures need?
Rinse away salt and dirt, wash gently with mild soap, and dry fully. Inspect stitching, windows, and hardware. Lubricate zippers and track components as directed and tighten any loose fasteners.
Can I remove and reuse the panels each season?
Yes. Panels are designed to roll up or come off for storage. Clean and dry them, then roll on a core and store in labeled bags in a cool, dry place to preserve clarity and flexibility.
Will enclosing the porch block light or views?
Clear vinyl maintains daylight and visibility. Insulated vinyl can include clear vision zones to balance warmth and views. Tarp with clear windows offers an affordable mix of privacy and light.
How do I seal drafts at the floor or railing?
Use weighted hems, bottom pockets, or clip-in draft skirts along the deck. Consider sill guides or hold-down straps at corners. A tight bottom seal improves comfort and reduces heater runtime.
Can I add screens or shades behind the vinyl?
Yes. Many porches layer screens or roller shades inside the enclosure for sun control and privacy. Confirm clearances so panels move freely and hardware does not interfere.
Summary
A porch shouldn't sit empty and unused for half the year. With the right winterization, it can be one of the most enjoyable parts of the home all year long.
Think about how many months that porch currently goes unused each year. Then multiply that by however many years of living in that house. That's a lot of wasted space and missed cozy mornings or peaceful evenings.
The right winterization solution, especially quality vinyl enclosures, reclaims all that time and turns the porch into genuine four-season living space. And that's worth the investment.
Ready to winterize your porch?
For every budget and need, AKON has custom vinyl enclosure options. There is professional help available to find the best fit for your space. It's time to enjoy your porch this winter instead of just seeing it sit empty.

